
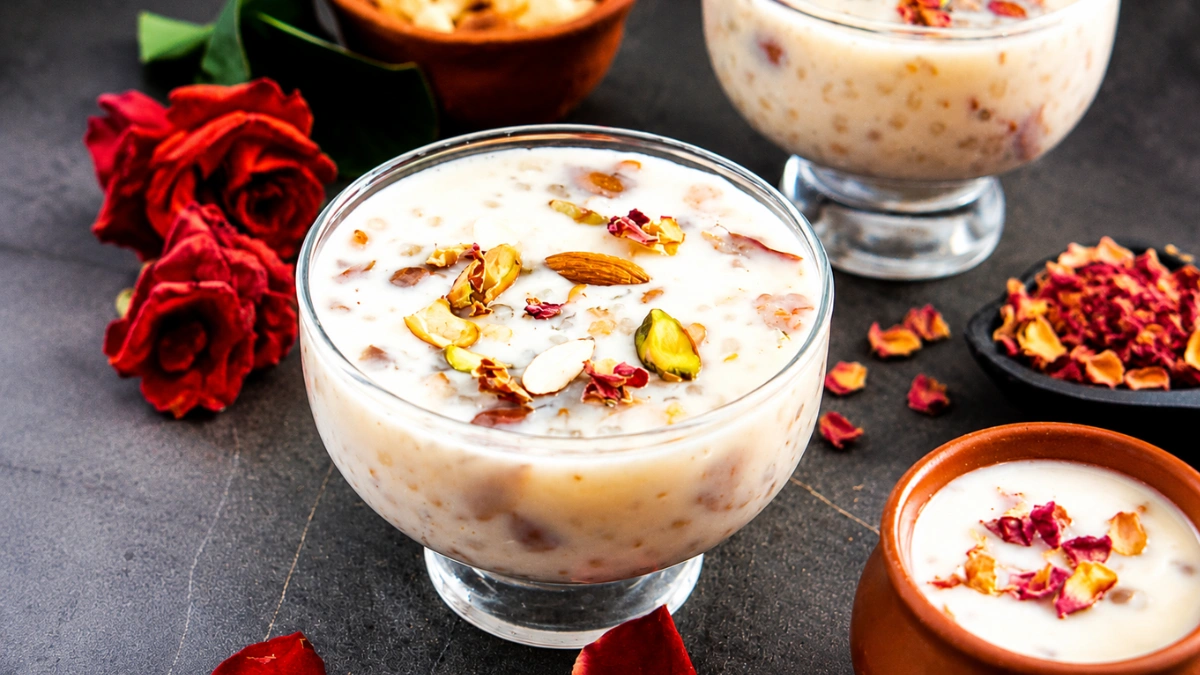
Vegan Coconut Milk Sabudana Kheer (My Foolproof 20-Minute Recipe That Actually Stays Creamy)
Introduction
The first time I decided to make a vegan version of sabudana kheer, I honestly expected it to taste very different from the traditional one. I thought coconut milk would completely change the flavor.
To my surprise, it turned out incredibly creamy with a mild coconut aroma that blended beautifully with cardamom and saffron. The biggest lesson I learned was not to boil coconut milk on high heat. During my first attempt, I let it boil vigorously, and the texture became grainy. Since then, I always simmer it gently, and every batch comes out silky smooth.
Now this has become one of my favorite quick desserts whenever I want something comforting without using dairy. It is perfect for fasting days, family dinners, or simply when I need a dessert that feels rich without being heavy.
If you’re looking for an easy vegan Indian dessert that doesn’t compromise on taste, this recipe is definitely worth trying.
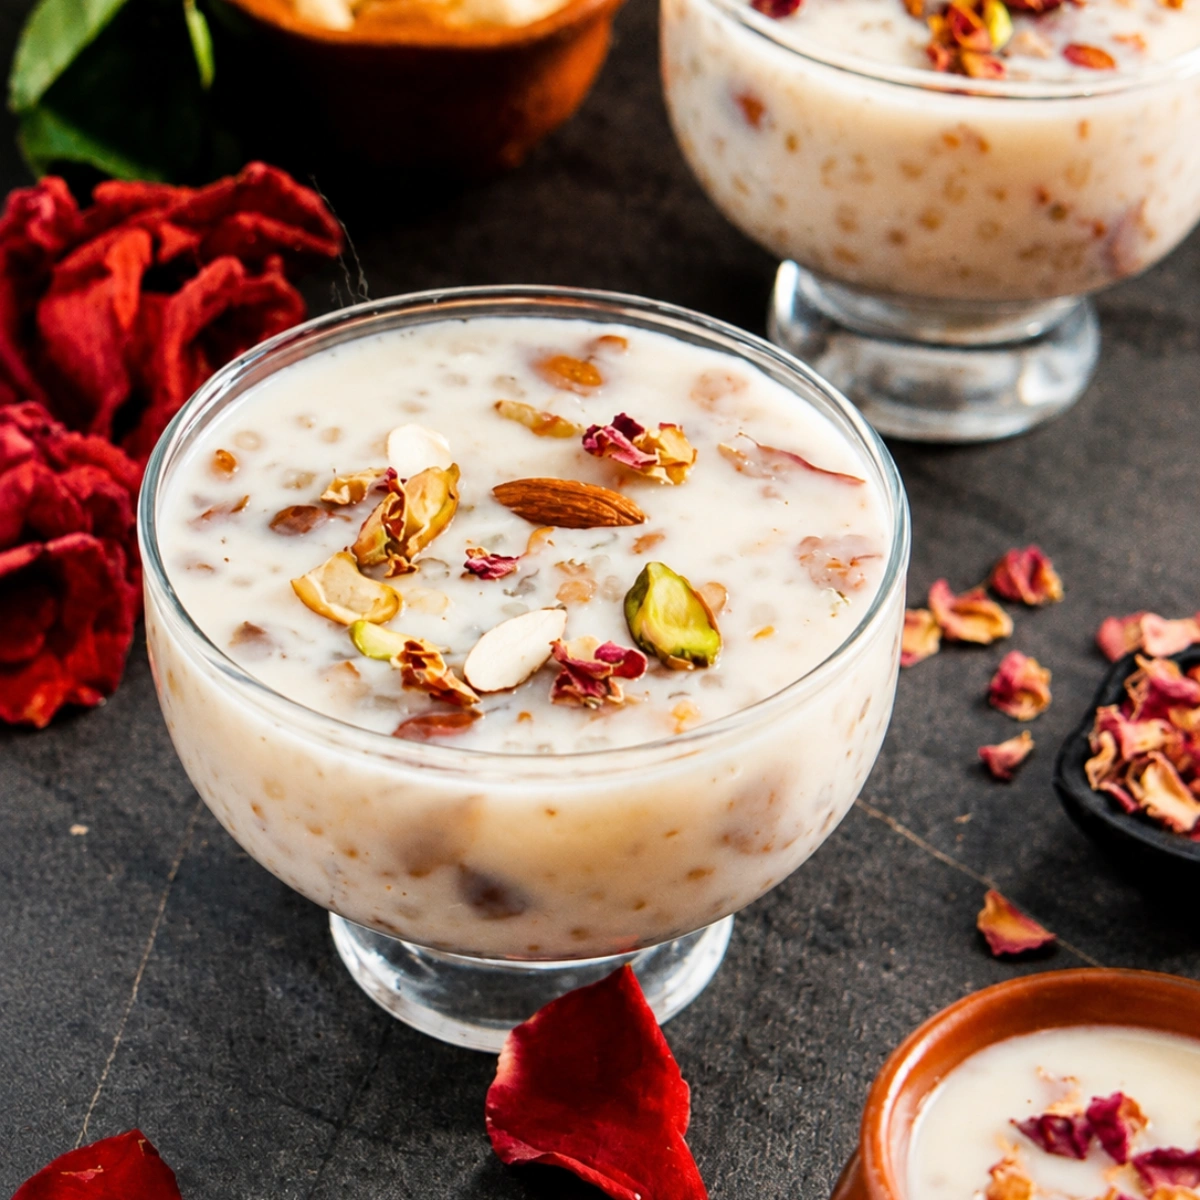

Vegan Coconut Milk Sabudana Kheer
Ingredients
Equipment
Method
- Instructions
- Rinse the sabudana 3–4 times until the water runs clear. Soak it in enough water for about 20 minutes, then drain.
- Bring 1 cup of water to a gentle boil in a heavy-bottomed pan. Add the soaked sabudana and cook over medium-low heat for 6–8 minutes, stirring frequently until the pearls turn translucent.
- Reduce the heat to low and pour in the thick coconut milk. Add sugar, cardamom powder, and saffron. Stir gently and cook for another 3–4 minutes without boiling vigorously.
- Heat coconut oil or vegan butter in a small pan. Lightly roast the chopped nuts (and raisins if using). Pour over the kheer and mix gently.
- Serve warm or chill for 2–3 hours before serving for a thicker and creamier texture.
Notes
Notes
- Do not over-soak the sabudana, or it may become mushy.
- Always cook coconut milk on low heat to prevent splitting.
- Thick coconut milk gives the creamiest texture.
- Add sugar gradually and adjust according to your taste.
- The kheer thickens after refrigeration. Stir in a little coconut milk before serving if needed.
My Tips
✔ Don't boil the coconut milk on high heat, as it can split and affect the smooth texture. ✔ Stir the sabudana frequently while cooking to prevent it from sticking to the bottom of the pan. ✔ Chill before serving if you prefer a thicker, pudding-like consistency. ✔ Garnish with toasted nuts and saffron for the best flavor and presentation.Looking for more quick festival recipes? Check out this delicious Instant Kesar Peda in 15 Minutes—perfect for Raksha Bandhan celebrations!
Approximate Nutrition (Per Serving)
| Nutrient | Amount |
|---|---|
| Calories | 170 kcal |
| Carbohydrates | 27 g |
| Protein | 2 g |
| Fat | 7 g |
| Fiber | 1 g |
Why You’ll Love This Recipe
✔ Completely dairy-free without sacrificing creaminess.
✔ Naturally gluten-free and suitable for fasting (vrat).
✔ Uses simple pantry ingredients.
✔ Ready in about 20 minutes.
✔ Tastes even better after chilling for a few hours.
✔ Beginner-friendly recipe with very little effort.
Ingredients
Main Ingredients
- ½ cup sabudana (small or medium pearls)
- 2 cups thick coconut milk
- 1 cup water
- 3 tablespoons sugar (adjust to taste)
- ¼ teaspoon cardamom powder
- 8 saffron strands (optional)
- 2 tablespoons chopped almonds, pistachios and cashews
- 1 teaspoon coconut oil or vegan butter
Optional Additions
- Raisins
- Pinch of salt
- Few drops of rose water
- Tiny pinch of nutmeg powder
Step-by-Step Instructions
Step 1 – Wash & Soak the Sabudana
- Rinse the sabudana 3–4 times until the water looks clear.
- Soak it in enough water for about 20 minutes.
What I noticed
I once soaked it for nearly an hour because I got busy. The pearls became too soft and broke apart while cooking. Around 20–30 minutes gives the best texture.
Step 2 – Cook Until Transparent
- Bring one cup of water to a gentle boil.
- Add the soaked sabudana.
- Cook over medium-low heat while stirring continuously.
- After about 6 minutes, the pearls should become transparent.
My tip
Never leave the pan unattended. Sabudana sticks to the bottom surprisingly fast.
Step 3 – Add Coconut Milk
- Reduce the heat completely.
- Pour in the coconut milk.
- Add sugar, cardamom and saffron.
- Stir gently for another 3–4 minutes.
- Do not allow the mixture to boil vigorously.
What happened during my first attempt
- I increased the flame to save time.
- The coconut milk slightly separated, and the texture wasn’t smooth anymore.
- Since then I always keep the flame low, and the kheer comes out perfectly creamy.
Step 4 – Toast the Nuts
- Heat coconut oil in a small pan.
- Toast the chopped nuts until lightly golden.
- Pour them over the kheer.
- Mix gently and serve.
My Personal Tips After Making It
Don’t skip rinsing.
The extra starch makes the kheer overly sticky.
Thick coconut milk makes all the difference.
I tried using thin coconut milk once, and the dessert felt watery instead of creamy.
Chill before serving.
After 2–3 hours in the refrigerator, the flavors become much richer.
Add a tiny pinch of salt.
It doesn’t make the dessert salty—it simply enhances the sweetness.
Sweeten gradually.
Different coconut milk brands have different levels of sweetness, so always taste before adding more sugar.
Easy Variations
Jaggery Coconut Kheer
Replace sugar with powdered jaggery after switching off the flame.
Mango Version
Top chilled kheer with fresh mango cubes.
Rose Cardamom
Add a few drops of rose water before serving.
Dry Fruit Rich Version
Increase almonds, pistachios and cashews for a festive dessert.
Serving Ideas
- During Navratri fasting
- As a light summer dessert
- After a spicy Indian meal
- For family gatherings
- In small dessert cups at festivals
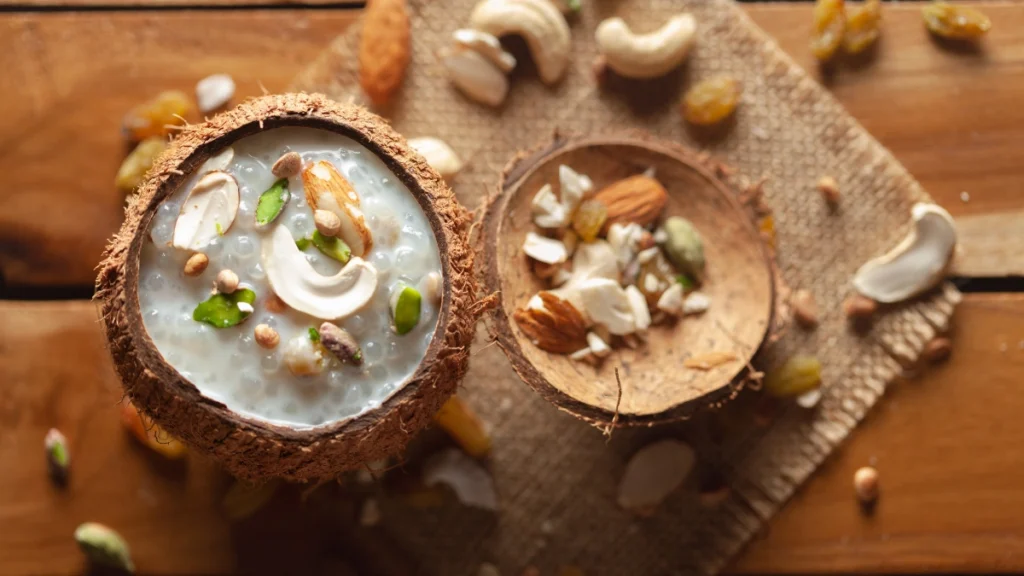
Storage
- Store in the refrigerator for up to 2 days.
- If the kheer thickens after chilling, simply stir in a little coconut milk before serving.
- Avoid reheating on high heat.
Frequently Asked Questions
Can I use canned coconut milk?
Yes. Shake it well before opening. If it feels too thick, mix in a little warm water.
Can I prepare this a day ahead?
Definitely. I actually prefer the taste the next day because the cardamom and saffron flavors develop beautifully.
Is sabudana naturally vegan?
Yes. Sabudana is made from tapioca starch and is completely plant-based.
Why did my sabudana become sticky?
This usually happens if it wasn’t rinsed properly or if it was overcooked.
My Final Thoughts
I’ve made this recipe several times now, and the biggest surprise has been how satisfying it is even without dairy. If someone served it to me without telling me it was vegan, I probably wouldn’t guess.
Whenever I have leftover coconut milk in the refrigerator, this is one of the first desserts I think of because it’s quick, comforting, and doesn’t require any fancy ingredients. If you’re making vegan Indian desserts for the first time, this recipe is a great place to start.