Ingredients
Method
- Crush the Biscuits: Take the Oreo biscuits and break them into small pieces. Grind them into a fine powder using a mixer (or crush them in a zip-lock bag with a rolling pin).
- Make the Dough: Transfer the powder to a bowl. Add milk one spoon at a time and mix well until it becomes a soft, non-sticky dough. (Don't add too much milk at once!)
- Shape the Cake: Take small portions of the dough and shape them into thick round discs (like mini cakes). You can also use small cookie cutters for different shapes.
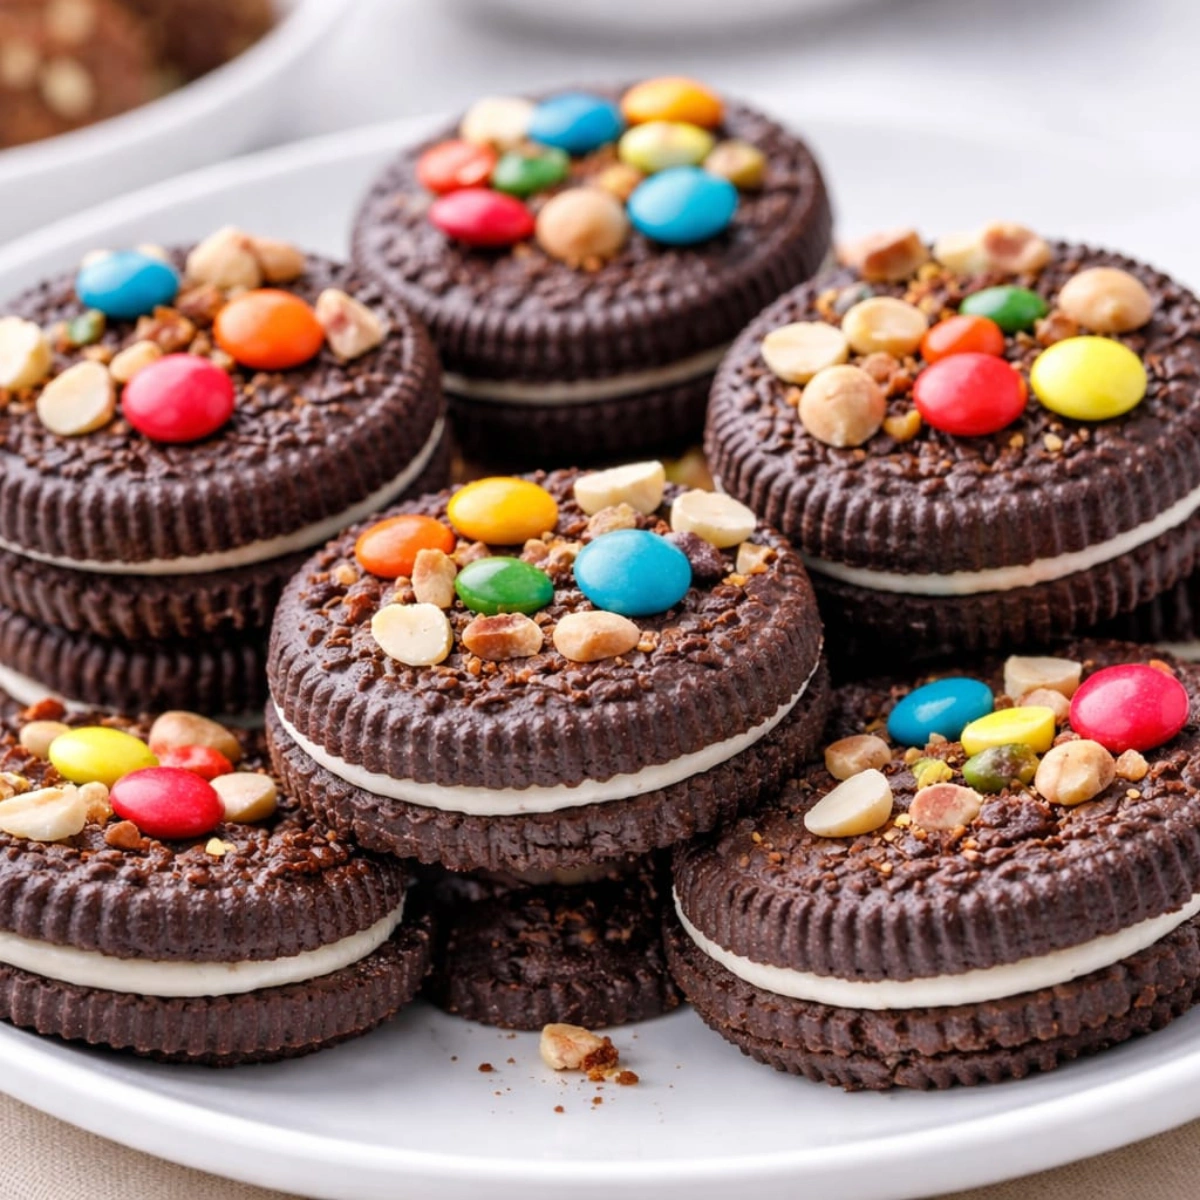
- Glaze & Decorate: Drizzle some chocolate syrup on top. Place a few Gems, sprinkles, or nuts to make it look attractive.
- Final Touch: Sprinkle a little desiccated coconut on top for a professional "Bakery Style" look.
Notes
Pro-Tips
- Consistency Check: When mixing the dough, add milk one teaspoon at a time. Adding too much milk at once will make the dough sticky and difficult to shape.
- Chilling for Better Texture: If you have time, place the mini cakes in the refrigerator for 5–10 minutes. This helps them set firmly and improves the taste.
- The "Bakery" Look: For a professional finish, use a small round cookie cutter to get perfectly symmetrical shapes.
- Hygiene for Competitions: If preparing this for a school event, always wear kitchen gloves while kneading the dough. It creates a great impression on the judges regarding food safety.
- Flavor Variation: You can add a pinch of cardamom powder or a drop of vanilla essence to the dough for a unique fusion aroma.